Cats do not scratch your furniture to be annoying. They scratch to mark territory, stretch their muscles, and shed old nail sheaths. It is a biological need. If you do not provide a “yes” place to scratch, your sofa becomes the victim.
This guide covers the best indoor cat scratchers for 2025. We look at durable store-bought options and creative DIY projects you can build this weekend.
Why Your Cat Needs a Dedicated Scratcher
Before buying or building, you must understand the goal. A scratcher is not just a toy. It is a piece of territory.
Scent Marking
Cats have scent glands in their paws. When they scratch, they leave a chemical signature. This tells other pets, “I live here.”
Physical Health
Scratching is yoga for cats. It stretches the back and shoulder muscles. This is why vertical posts must be tall. A short post forces a cat to hunch, which is uncomfortable.
Stress Relief
You might notice your cat scratching vigorously when you come home or before dinner. This is an emotional release. It burns off excess energy and anxiety.
Nail Maintenance
Cat claws grow in layers like an onion. Scratching removes the dead outer husk to reveal the sharp, healthy claw underneath.
How to Choose the Right Scratcher
Not all scratchers are equal. Most cheap ones are a waste of money because cats ignore them. Look for these three features.
Stability is King
If a post wobbles, your cat will never touch it again. In the wild, trees do not wobble. Your scratching post shouldn’t either. It needs a heavy, wide base.
Height Matters
For vertical scratchers, the post must be taller than your cat when they are fully extended on their hind legs. For an average cat, this means at least 30 to 32 inches high.
Material Texture
- Sisal Fabric: The gold standard. It shreds satisfyingly but lasts a long time. It does not catch claws like a carpet loop does.
- Cardboard: excellent for horizontal scratchers. It is cheap and noisy, which cats love.
- Wood: Great for heavy scratchers who like natural textures.
- Carpet: Be careful. It can teach cats that scratching rugs is okay. If you choose carpet, ensure it is a cut pile, not a loop pile.
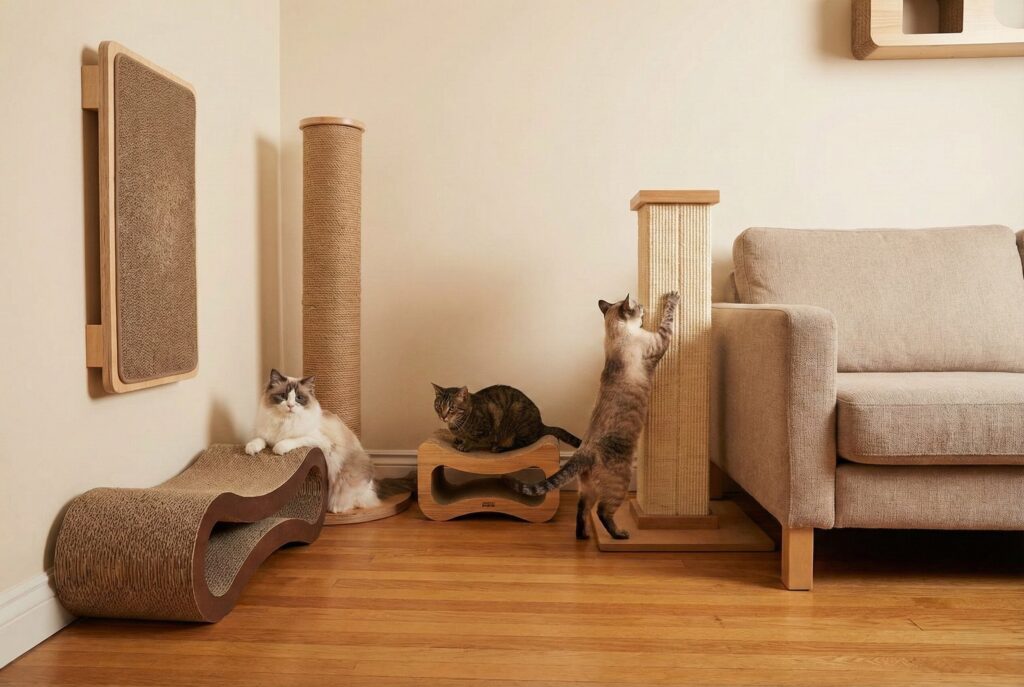
Part 1: Top Store-Bought Cat Scratchers (2025 Picks)
We have analyzed durability, materials, and cat approval ratings to find these top contenders.
1. The Heavy-Duty Vertical Post (Best Overall)
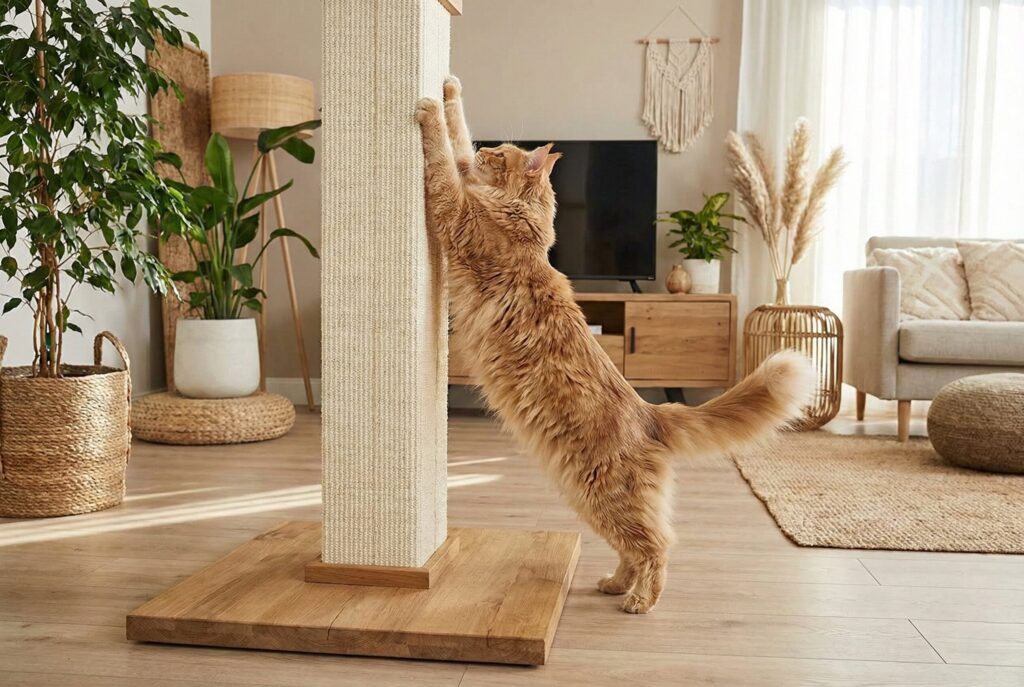
This is the standard for a reason. It uses woven sisal fabric, not rope. The rope can unwind and look messy. Fabric is bonded to the post and withstands years of abuse.
- Why it wins: It is 32 inches tall. This allows a full stretch for almost any breed.
- Stability: The base is usually 16×16 inches of heavy wood, preventing tipping.
- Best for: Large cats (Maine Coons, Ragdolls) and vigorous scratchers.
- Pros: Extremely durable, looks clean, and is heavy.
- Cons: More expensive than cardboard, takes up floor space.
2. The Infinity Lounge Scratcher (Best Cardboard)
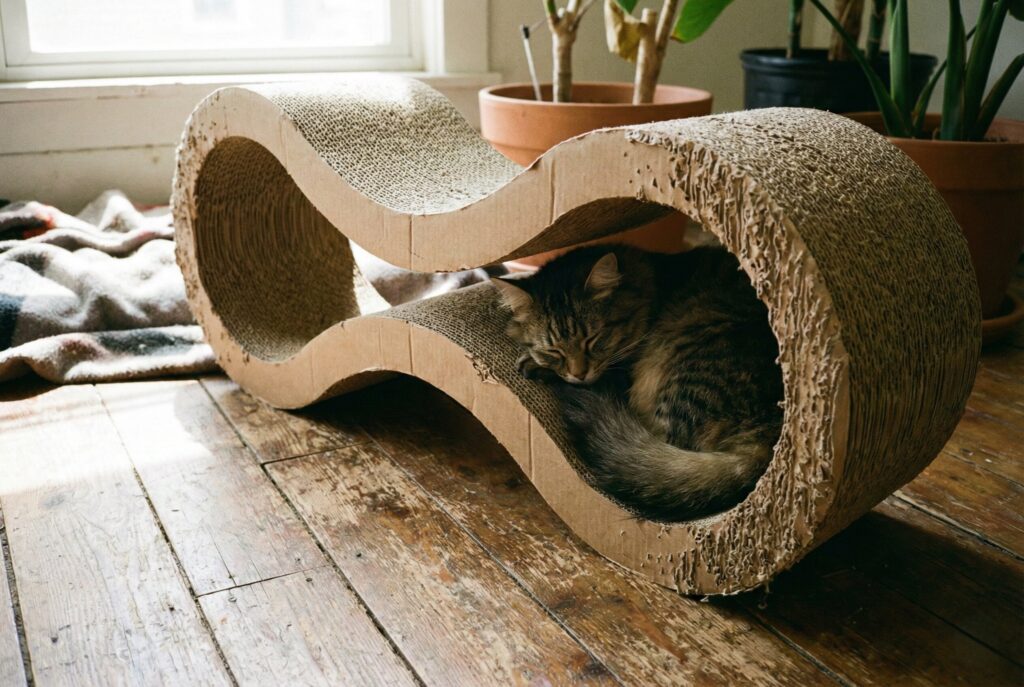
This creates a “furniture” feel. It is a scratcher that doubles as a bed. The figure-8 design (or infinity shape) provides curves for scratching at different angles.
- Why it wins: Cats love to sleep where they scratch. High-quality dense cardboard lasts 4-5 times longer than cheap versions.
- Reversible: Once one side is shredded, you flip it over for a brand new surface.
- Best for: Cats who like to lounge and scratch horizontally.
- Pros: sleek design, lightweight, dual-purpose.
- Cons: Cardboard flakes can get on the floor, and will eventually need replacement.
3. Wall-Mounted Modular Scratchers (Best Space Saver)

If you live in an apartment, floor space is premium. Wall-mounted options replace shelf space with vertical territory.
- Why it wins: You can mount it at any height. You can stack two on top of each other for a floor-to-ceiling climbing experience.
- Installation: Requires drilling into studs for safety. Do not use adhesive strips; they are not strong enough.
- Best for: Small apartments, active climbers, and multi-cat homes.
- Pros: Zero floor footprint, looks like modern art, highly customizable.
- Cons: Requires tools to install, and holes in the wall.
4. The Cactus Scratcher (Best Design)
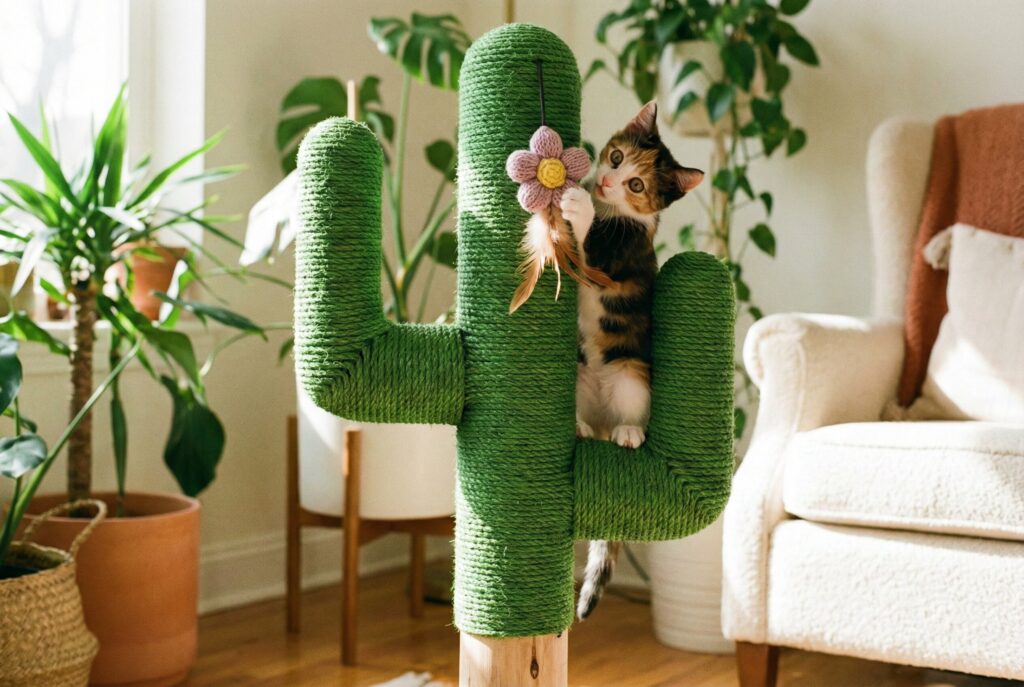
This is a trendy option that adds personality to a room. Unlike boring beige posts, this looks like a plant.
- Why it wins: It usually features a heavy base and multiple scratching poles (the main trunk and the arms).
- Texture: Uses dyed jute or sisal rope.
- Best for: Kittens and average-sized cats who need enrichment.
- Pros: Very cute, good variety of scratching angles.
- Cons: Often not tall enough for very large cats, “arms” can be weak points if not built well.
5. The Corner Scratcher (Best Furniture Protector)
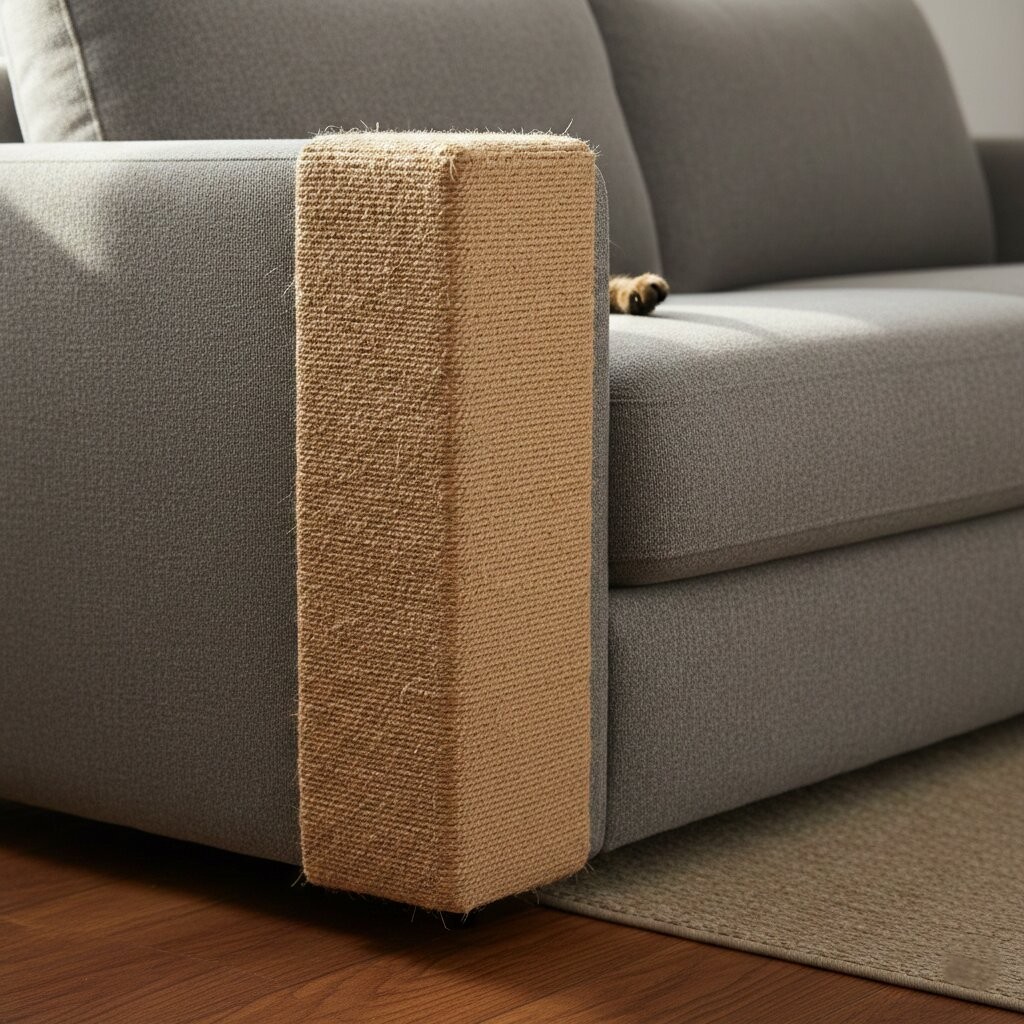
If your cat is already destroying a specific couch corner, this is the solution. It fits physically over the corner.
- Why it wins: It doesn’t try to change the location of the scratching; it just changes the surface. It is the path of least resistance.
- Setup: Can be tucked under the sofa leg for stability.
- Best for: Stubborn cats who refuse to leave the sofa alone.
- Pros: Directly solves furniture damage, low profile.
- Cons: Specific to corners, might not fit all sofa shapes.
Part 2: 5+ Best DIY Cat Scratcher Projects
Building your own scratcher is often cheaper and allows you to use higher-quality materials than what you find in stores. Here are detailed guides for the best DIY options.
6. The “Forever” Traffic Cone Scratcher
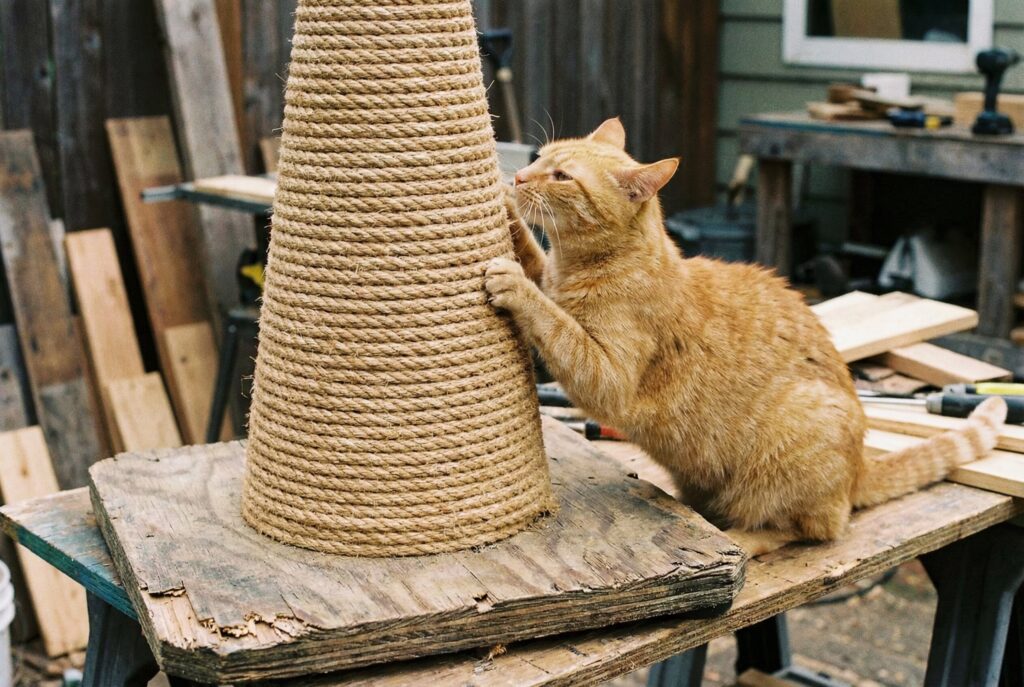
This is an incredibly tough scratcher. The cone shape is naturally stable and hard to tip over.
Materials Needed:
- 1 large orange traffic cone (can be bought at hardware stores).
- 100 feet of 3/8 inch Sisal Rope.
- Heavy-duty construction adhesive (like Liquid Nails) or hot glue.
- A round plywood base (optional, for extra weight).
Instructions:
- Clean the Cone: Wipe down the traffic cone with alcohol to remove grease so the glue sticks.
- Start at the Bottom: Apply a thick bead of adhesive around the bottom rim of the cone. Press the start of your rope into the glue.
- Wrap Tightly: Wind the rope around the cone. You must pull it very tight. Every 2-3 inches, apply more glue to the cone before wrapping the rope over it.
- Hammer it Down: As you wrap, tap the rope down with a hammer to ensure there are no gaps between the coils.
- Finish the Top: When you reach the top, tuck the end of the rope inside the hole of the cone and glue it liberally.
- Dry: Let it cure for 24 hours to remove any glue smell.
Why it works: The tapered shape allows cats to stretch at different angles. It is virtually indestructible.
7. The Natural Log Scratcher
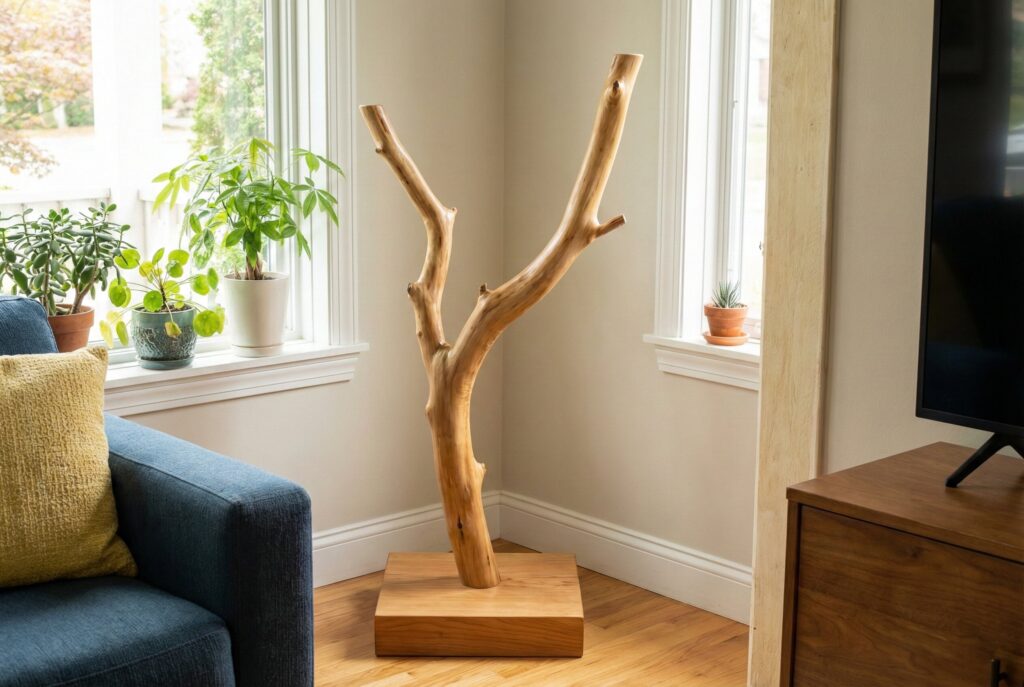
Cats love real wood. Softwoods like cedar or pine feel great to sink claws into.
Materials Needed:
- A dry log (about 4-6 inches thick and 3 feet long). Ensure it is not rotten.
- A piece of 3/4 inch plywood (20×20 inches) for the base.
- 3 large lag screws (4 inches long).
- Sandpaper.
- Clear matte polyurethane (water-based) for the base only.
Instructions:
- Prep the Wood: Remove loose bark. If you leave bark, it will be messy, but cats love it. If you want it cleaner, strip the bark and sand the wood slightly so it doesn’t give splinters.
- Prep the Base: Sand the plywood base. You can paint it or seal it to look nice.
- Attach the Log: Drill 3 pilot holes through the bottom of the plywood base. Place the log upright. Drill into the bottom of the log through the plywood holes.
- Secure: Screw the lag screws up through the plywood and deep into the log.
- Add Feet: Put rubber feet on the corners of the plywood so the screws don’t scratch your floor.
Why it works: This mimics a real tree. It is aesthetic and free if you can find the wood.
8. The Carpet Sample Wallscape
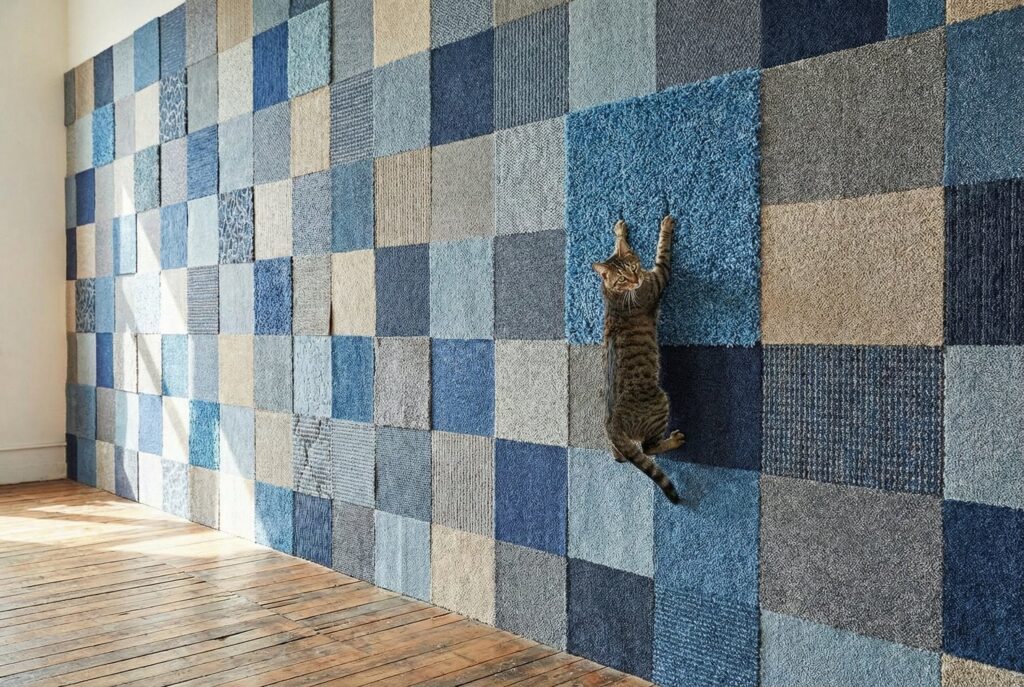
Carpet stores often throw away old sample squares. You can get them for free or very cheaply.
Materials Needed:
- 10-15 Carpet sample squares.
- A sheet of plywood (sized to fit your wall space).
- Short screws and washers.
Instructions:
- Arrange the Pattern: Lay your plywood on the floor. Arrange the carpet squares in a pattern you like.
- Secure the Carpet: Screw the corners of each carpet square into the plywood. Use washers so the screw head doesn’t pull through the carpet backing.
- Mount the Board: Screw the entire plywood board into the wall studs of your room.
Why it works: It creates a massive “scramble wall.” It is visually interesting and allows cats to climb very high.
9. The Cardboard Book Scratcher
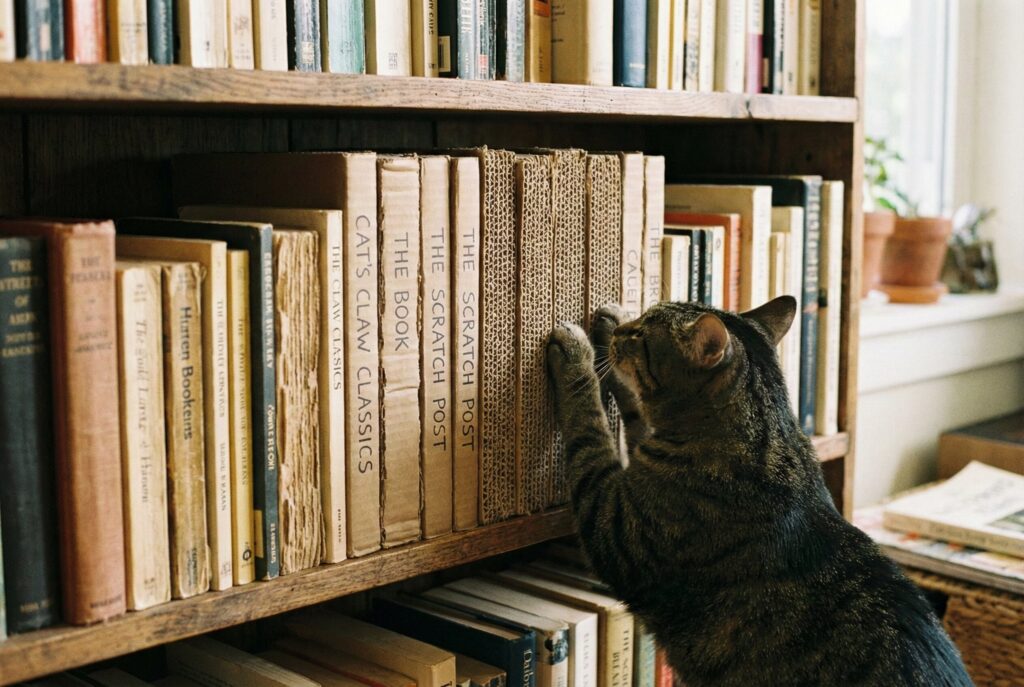
This is a stealth scratcher for people who hate the look of cat furniture.
Materials Needed:
- 20-30 corrugated cardboard delivery boxes.
- Box cutter or utility knife.
- White school glue (PVA).
- Two pieces of wood or bookends.
Instructions:
- Cut Strips: Cut the boxes into strips that are the same height and depth as a standard hardcover book (e.g., 9 inches tall, 6 inches deep).
- Stack and Glue: Coat the flat sides of the strips with glue and stack them together.
- Compress: Sandwich the stack between two heavy boards or books and put weight on top. Let it dry for 24 hours.
- Place on Shelf: Slide the block of cardboard onto your bookshelf. It should fit tightly between other books or bookends.
Why it works: It uses up recycling. It is hidden in plain sight.
10. The PVC Pipe Tower
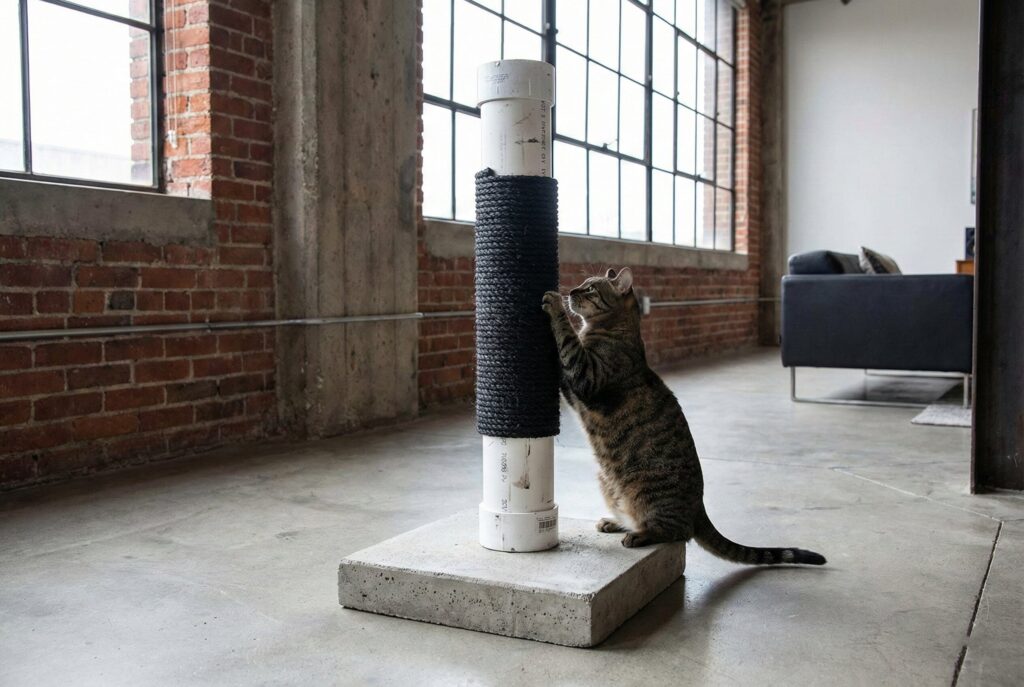
PVC is cheap, light, and easy to find. It makes a great core for a scratcher.
Materials Needed:
- 4-inch diameter PVC pipe (cut to desired height).
- PVC toilet flange (this connects the pipe to the base).
- A heavy wooden base or a paver stone.
- Sisal rope.
- Hot glue.
- PVC cap for the top.
Instructions:
- Mount the Flange: Bolt the PVC toilet flange to the center of your base.
- Insert Pipe: Push the PVC pipe into the flange. It should be a tight fit. You can glue it with PVC cement for permanence.
- Cap it: Put the cap on top.
- Wrap: Wrap the rope around the pipe using the same hot glue method as the traffic cone (Idea #6).
- Weight: If the base feels light, you can fill the PVC pipe with sand before putting the cap on. This makes it incredibly stable.
Why it works: You can make this as tall as you want, even floor to ceiling!
DIY Tips for Success
Do Not Use Staples
When attaching rope or carpet, try to avoid staples if possible. If a cat pulls hard, a staple can come loose and be swallowed or hurt a paw. If you must use staples, hammer them all the way in so they are buried deep in the material. Glue is generally safer.
Sisal Rope vs. Sisal Fabric
For DIY, rope is easier to work with. You just wind it. Fabric is harder to attach seamlessly, but lasts longer. If using rope, choose 3/8 inch or 1/2 inch thickness. Thin twine will snap in a week.
The Catnip Trick
When you finish your DIY project, rub fresh dried catnip into the fibers. This acts as a “welcome” sign.
Placement Strategy: Location is Everything
You can buy the best $200 scratcher, but if you put it in the spare bedroom, your cat will ignore it.
The “High Value” Zones
Cats scratch to own space. They want to own the space you are in. Place scratchers in the living room, near the TV, or next to the sofa.
The Wake-Up Zone
Cats love to stretch immediately after waking up. Place a tall vertical scratcher right next to their favorite sleeping spot. They will wake up, step out, stretch, and scratch.
The “No” Zones
Do not hide the scratcher behind a door or in a closet. If it is not visible, it does not exist to a cat.
Troubleshooting: “My Cat Won’t Use It”
If you built or bought a scratcher and your cat ignores it, try these steps:
- Check Stability: Is it wobbling? Shim the base so it is rock solid.
- Check Material: Does your cat prefer horizontal or vertical? If they scratch the rug, they want a horizontal mat. If they scratch the sofa arm, they want a vertical post.
- Play Therapy: Use a wand toy to lure the cat up the post. Let them catch the toy on the post so they sink their claws in.
- Scent Transfer: Rub a towel on your cat’s cheek (where their happy pheromones are) and then rub that towel on the new scratcher.
Maintenance and Safety
Trimming the Fuzz
Sisal rope will eventually get fuzzy. This is normal. You can trim the loose fibers with scissors to make it look neat. Do not pull them, or you might unravel the whole post.
When to Replace
- Cardboard: Replace when the grooves are flattened, and the cat can no longer get a “grip.”
- Sisal: Replace when the rope breaks and exposes the wood/pipe underneath.
Cleaning
Vacuum cardboard scratchers weekly to remove dust and paper flakes. For sisal, a stiff brush helps remove cat hair trapped in the fibers.
Conclusion
The best cat scratcher is the one your cat actually uses. Whether you buy a heavy-duty sisal post or build a custom log scratcher, the key elements are stability, height, and location.
By providing a high-quality outlet for this natural instinct, you protect your home and keep your cat physically and mentally healthy. Start with a simple vertical post in the living room, and expand your “cat furniture” collection from there. Your sofa will thank you.