Do you ever feel like your cat is constantly underfoot? Or perhaps your indoor cat looks bored, staring blankly at the same four walls every day. Cats have a natural instinct to climb. In the wild, high vantage points are crucial for hunting and safety. Inside our homes, we often forget this vital need. We live horizontally, but cats live vertically.
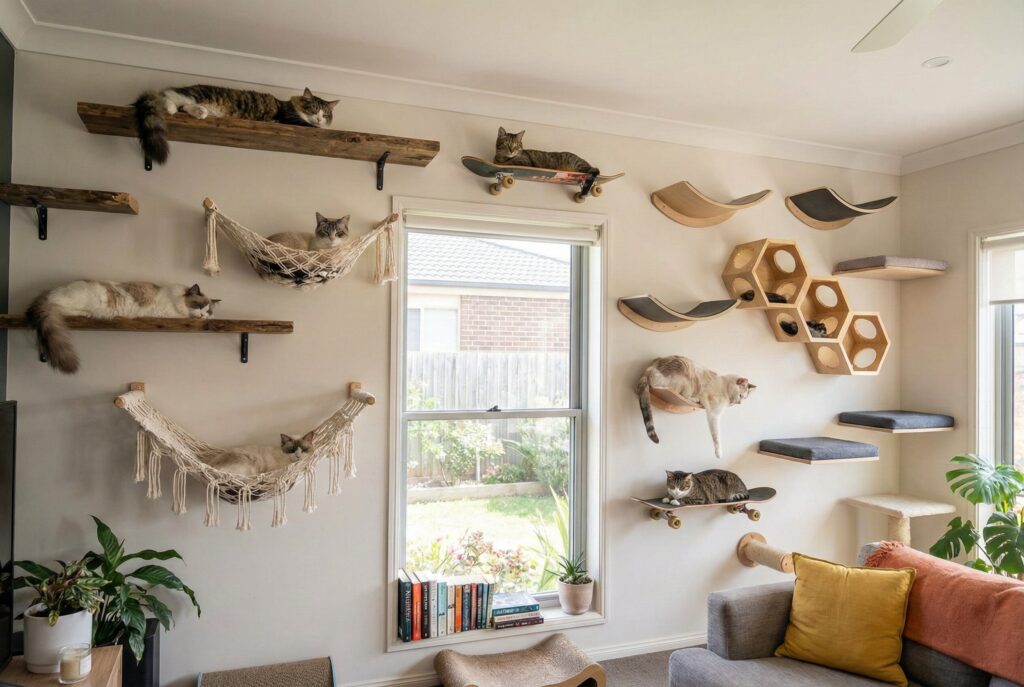
If you live in a small apartment or simply want to give your feline friend more room to roam without cluttering your floor with large cat trees, floating cat shelves are the perfect solution. They turn empty wall space into an exciting “cat superhighway.”
This guide will walk you through everything you need to know about creating vertical territory for your pet. We will cover safety basics, materials, installation tips, and over ten distinct ideas ranging from simple DIY projects to high-end store-bought setups.
Why Your Cat Needs Vertical Space
Before diving into the ideas, it is important to understand why this is more than just home decor. It is about feline enrichment and health.
- Security and Confidence: High places make cats feel secure. They can survey their environment and watch for “predators” (like the vacuum cleaner or a rambunctious dog) from a safe distance. A confident cat is usually a better-behaved cat.
- Exercise and Stimulation: Jumping from shelf to shelf provides excellent physical exercise, keeping your cat lean and agile. The mental challenge of navigating a wall course combats boredom, which can lead to destructive behaviors like scratching furniture.
- Territory Sharing: In multi-cat households, vertical space is essential. It allows cats to exist in the same room without being directly in each other’s faces. One cat can claim the high ground while another lounges below, reducing territory disputes.
- Space Saving: Traditional cat trees are bulky. Floating shelves utilize wall space that is currently doing nothing, freeing up valuable floor area for you.
Crucial Considerations Before You Start
Safety is paramount. You are mounting furniture to a wall that a dynamic, jumping animal will use. You cannot just stick a board up with nails and hope for the best.
Weight Capacity and Cat Size
Consider how much your cat weighs. A five-pound kitten puts much less stress on a shelf than an eighteen-pound Maine Coon. Furthermore, a cat jumping onto a shelf exerts significantly more force than a cat simply sitting on it. Always overestimate the weight capacity needed. Look for shelves rated for at least 30 to 50 pounds of pressure to account for the impact of landing.
Wall Type and Anchoring
How you mount the shelf depends entirely on what your walls are made of.
- Drywall with Studs: This is the ideal scenario. Wood studs are the vertical beams framing your house. Screwing brackets directly into wooden studs provides the strongest hold. You will need a stud finder tool to locate them.
- Drywall Only (Hollow Walls): If you want a shelf where there is no stud, you must use heavy-duty drywall anchors or toggle bolts. Never use standard plastic wall plugs for cat shelves; they will pull right out. Toggle bolts expand behind the drywall to create a secure brace.
- Brick or Concrete: You will need a hammer drill and specific masonry anchors for these hard surfaces.
Materials Matter
Whether buying or building, ensure the materials are sturdy.
- Solid Wood: The best option. It is strong, durable, and holds screws well.
- Plywood: High-grade plywood is also very strong and suitable for DIY projects.
- Particle Board/MDF: Be cautious. These materials are cheaper but less durable. They can crumble around screws over time, especially under repeated impact from jumping cats.
10+ Floating Cat Shelves Ideas (DIY + Store Bought)
Here are over ten different concepts for your cat wall. You can mix and match these styles to create a unique setup suited to your home’s aesthetic and your cat’s abilities.
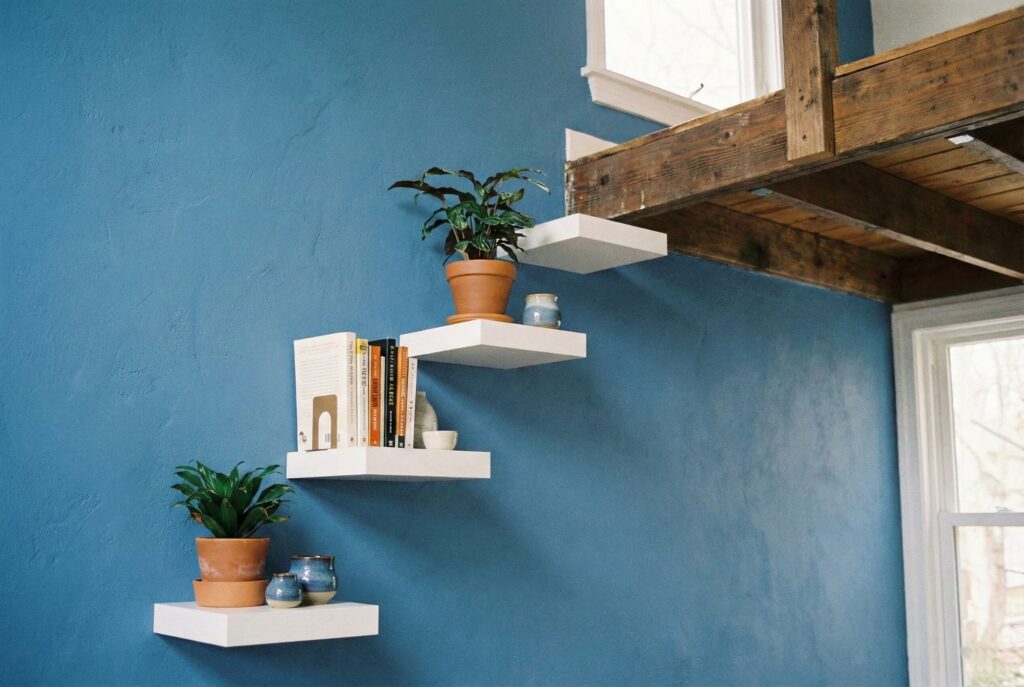
1. The Classic Straight Plank
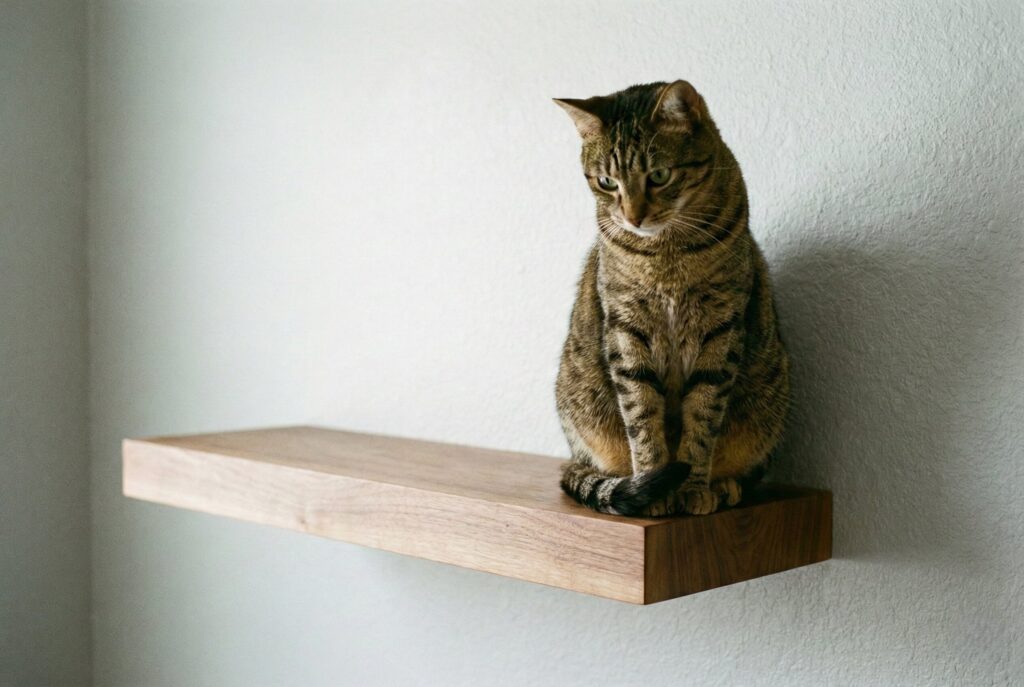
This is the foundation of most cat walls. It is simply a straight piece of wood mounted with brackets beneath it or “floating” hardware hidden inside the wood.
- DIY Angle: Buy a pre-cut piece of lumber (like pine or oak) from a hardware store. Sand it smooth. Stain or paint it to match your decor. Use sturdy metal shelf brackets screwed into studs.
- Store-Bought Angle: Many retailers sell sleek, ready-to-hang floating shelves. Just ensure they are rated for heavy loads, not just picture frames.
- Why it works: It is simple, affordable, and easy to install. You can arrange several in a staggered pattern to create stairs.
2. The Corner Climber
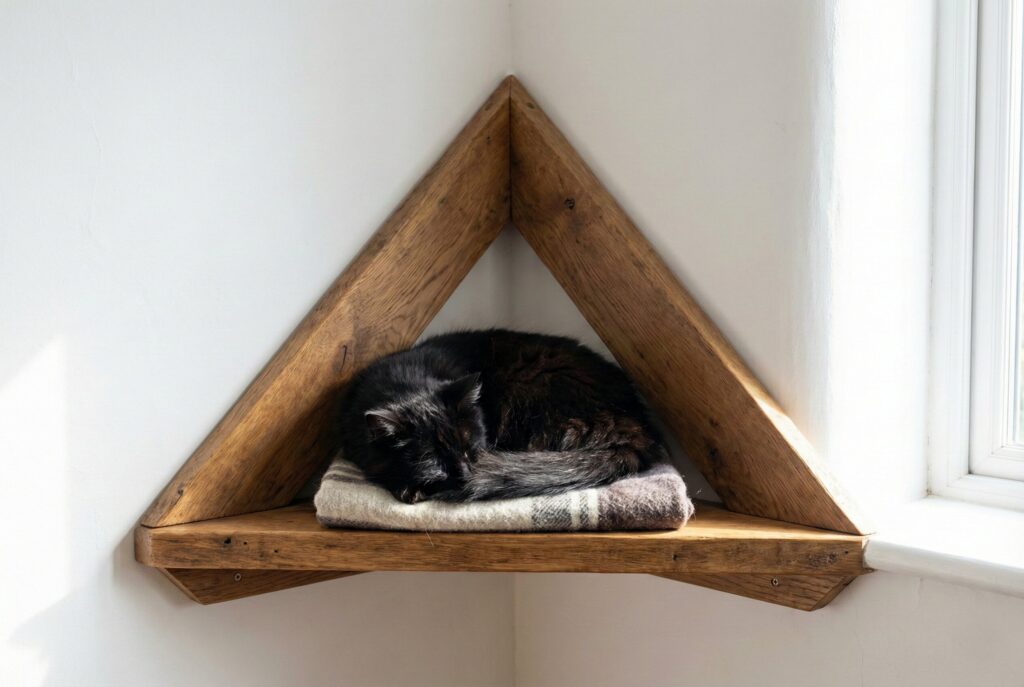
Corners are often dead space in a room. A corner shelf utilizes this area efficiently and allows a cat to change direction easily while navigating their wall path.
- DIY Angle: Cut a square piece of plywood diagonally to create two triangles. Mount these in the corner using supports on both adjacent walls.
- Why it works: It is incredibly stable because it is supported by two walls instead of one. It is perfect for small rooms.
3. The Suspension Bridge
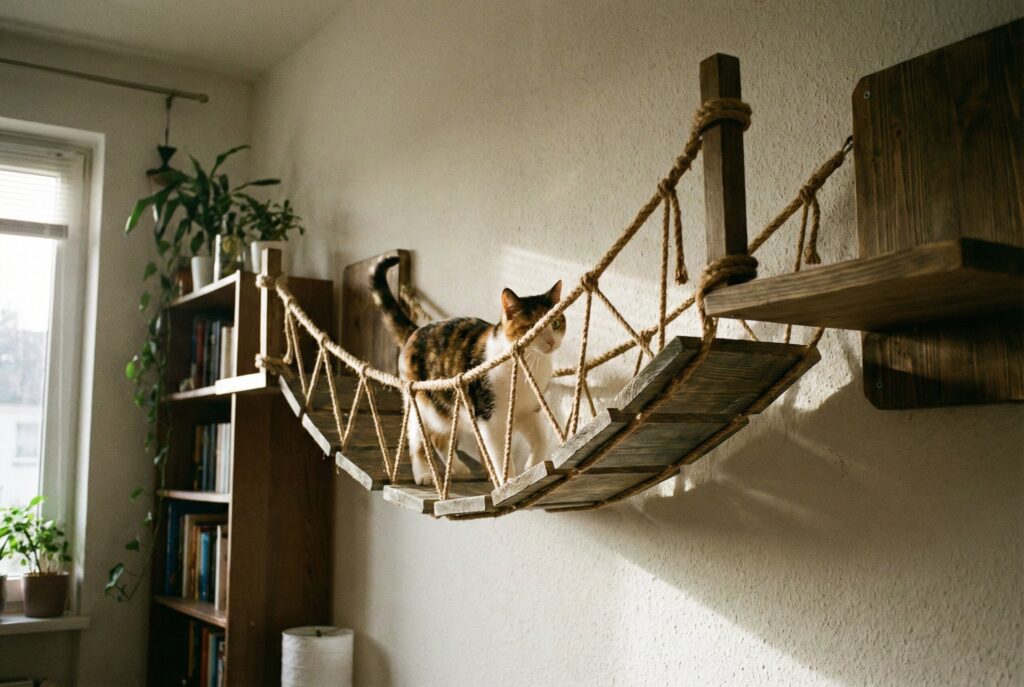
This is a favorite among active cats. A bridge adds a dynamic element that moves slightly under their feet, testing their balance. It usually consists of wooden slats connected by sturdy rope or heavy canvas.
- The Setup: You need two solid “anchor shelves” on either end. The bridge spans the gap between them.
- Note: Some older or timid cats might be afraid of the instability at first. Encourage them with treats.
4. The Sisal Scratching Post Shelf
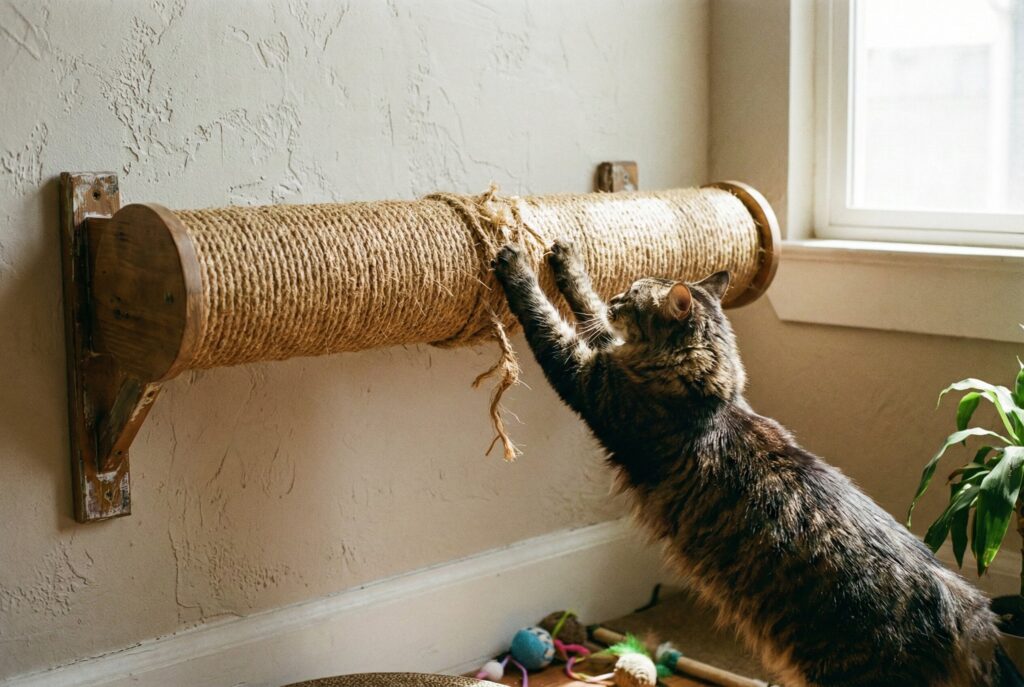
Combine vertical space with a necessary outlet for scratching. This is a vertical post or a horizontal shelf wrapped tightly in sisal rope.
- DIY Angle: Take a standard wooden shelf or a PVC pipe. Wrap it tightly with thick sisal rope, using strong construction adhesive to secure it. Mount it vertically for a climbing pole, or horizontally for a scratch-and-lounge spot.
- Why it works: Cats love scratching sisal. Having it high up allows them to get a full body stretch while marking their territory.
5. The “Floating” Box or Cubby
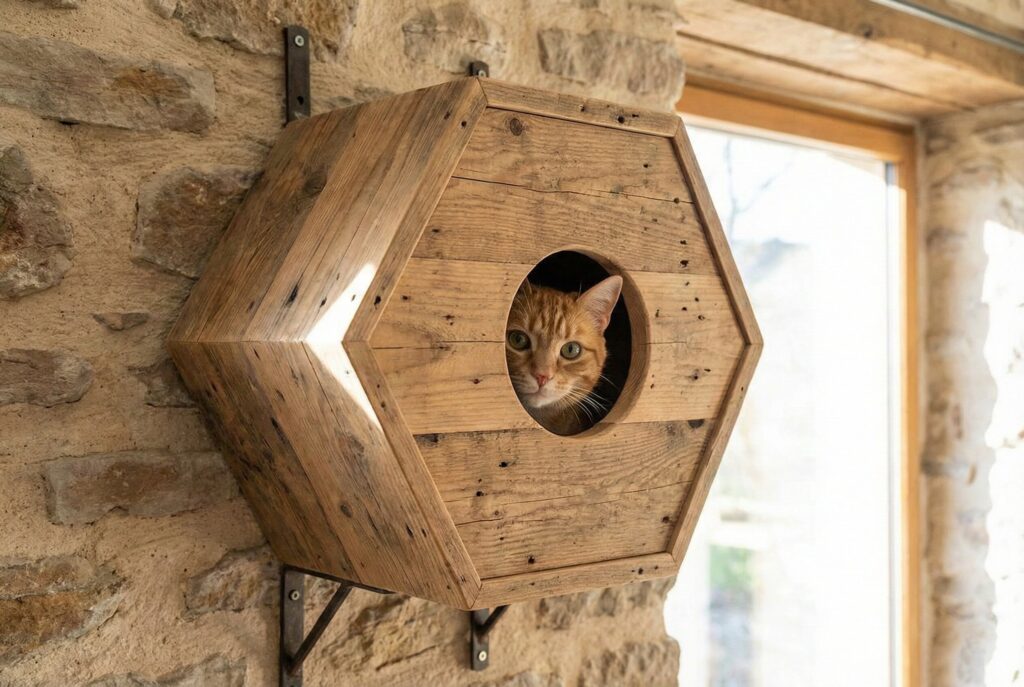
Cats love enclosed spaces. A floating box provides a safe hideaway high above the ground. It’s the perfect napping spot where they feel protected on all sides.
- Design: It can be a simple square box with an entry hole, or a hexagon shape for a modern look.
- Store-Bought Angle: Many Etsy sellers specialize in beautiful, geometric wooden cat hexagon shelves that link together.
6. The Curved “Wave” Shelf
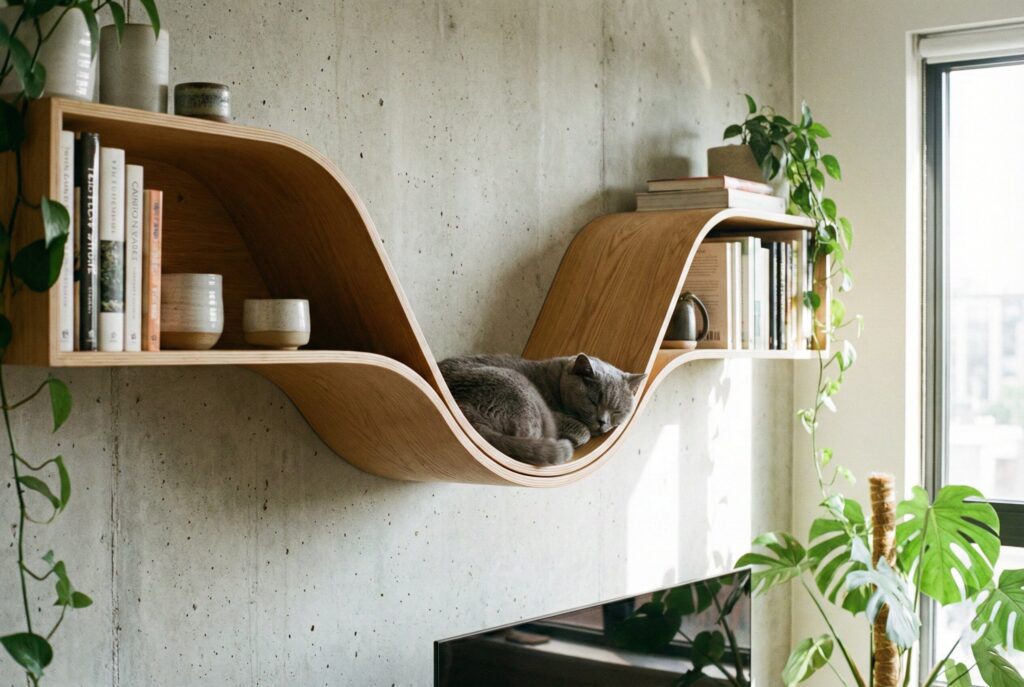
For a more artistic look, avoid straight lines. A curved or wave-shaped shelf functions as both a perch and a piece of wall art.
- Function: The dip in the “wave” provides a comfortable cradle for a cat to lounge in, rather than just sitting on a flat surface.
- Why it works: It breaks up the monotony of rectangular shapes and looks very high-end.
7. The Window Perch Shelf
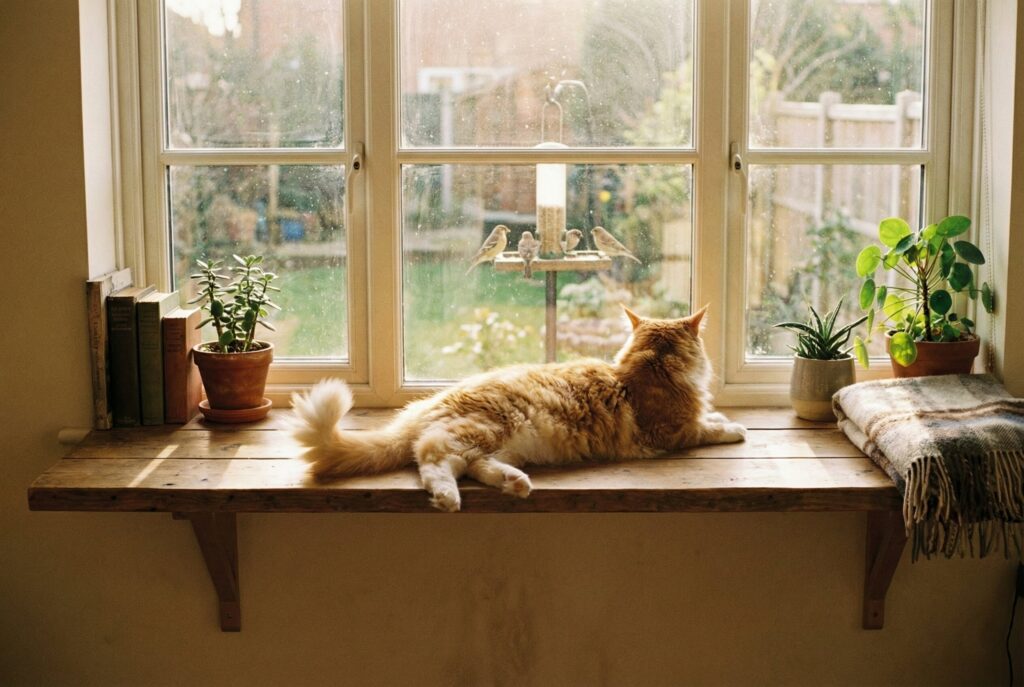
The window is “cat TV.” Birds, squirrels, and passing cars provide endless entertainment. Mounting a floating shelf directly below a window sill gives them the best seat in the house.
- Placement: Ensure the shelf is wide enough for them to lie down fully and bask in the sunlight.
- Note: Be mindful of blinds or curtains; your cat will likely navigate behind them to get to the shelf.
8. The IKEA Hack Route
IKEA products are common bases for DIY cat shelves because they are affordable and accessible.
- The LACK Shelf: The small, square LACK wall shelves are very popular. You can buy several and arrange them in steps.
- Crucial Safety Warning: Standard IKEA LACK shelves are often hollow inside (honeycomb paper filling). You must use heavy-duty toggle bolts if not hitting studs, and they may not be suitable for very heavy or active cats jumping long distances. Reinforcing them is often necessary.
9. The Feeder Shelf
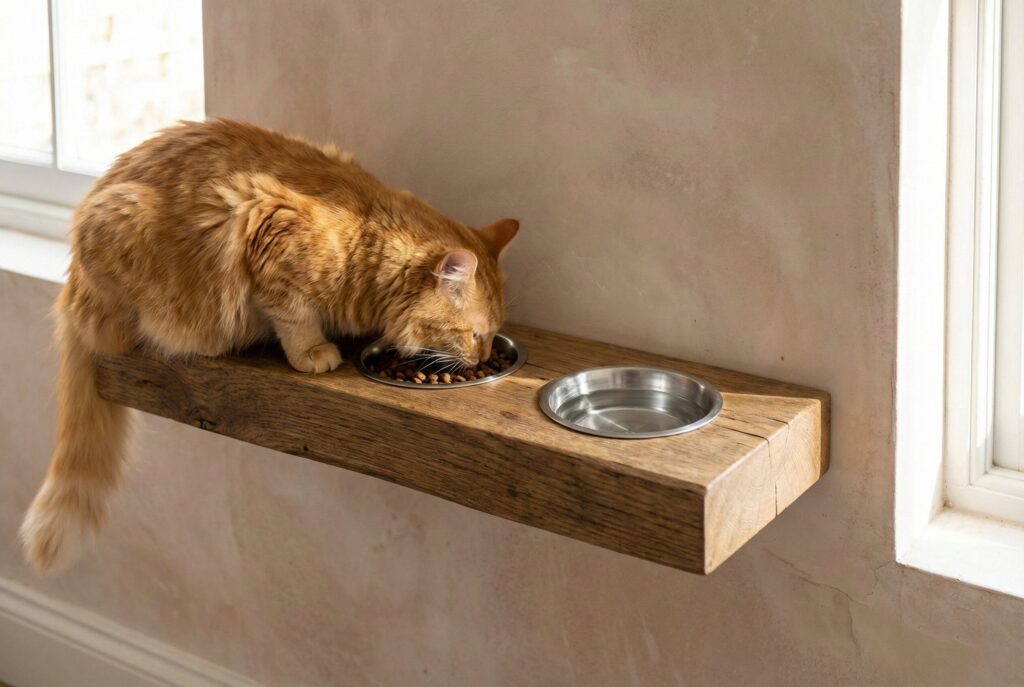
If you have dogs that annoy your cat while eating, or a multi-cat household requiring separate diets, a high feeder shelf is practical.
- Design: A standard shelf with cutouts to hold stainless steel food and water bowls securely so they don’t get knocked off.
- Consideration: Ensure the path to get up and down from the feeder shelf is easy for the cat to navigate after a full meal.
10. The Ultimate Floor-to-Ceiling Complex
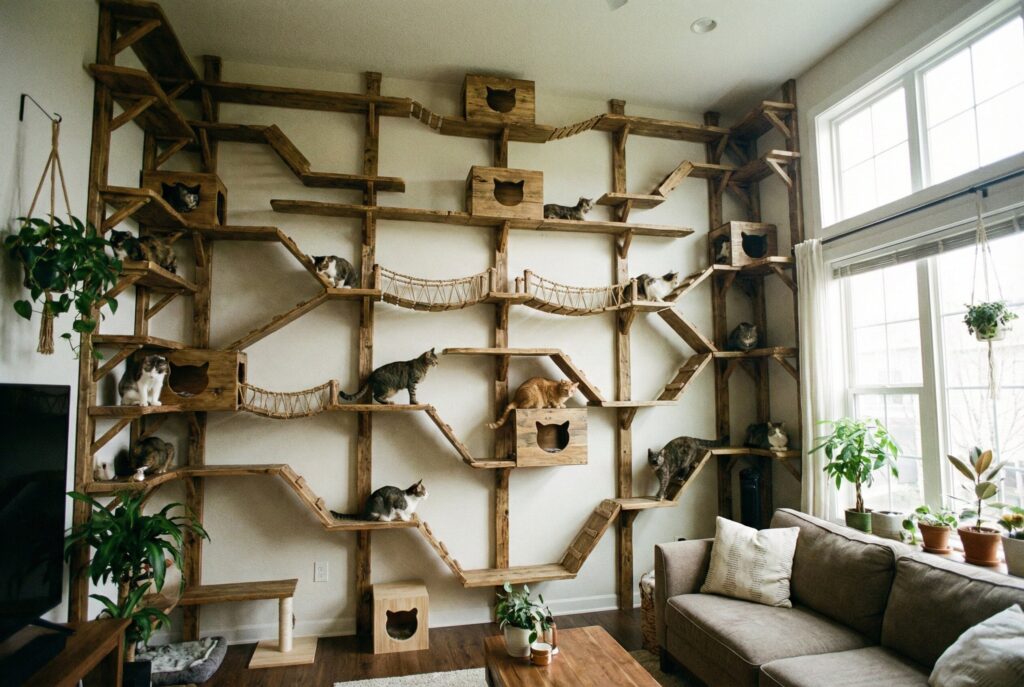
This isn’t just one shelf; it’s a total wall takeover. It combines ramps, steps, bridges, cubbies, and high perches that go nearly to the ceiling.
- Planning: This requires mapping out your wall on paper first. You need to ensure the jumps between sections are achievable for your cat.
- Why it works: It provides the ultimate enrichment environment, allowing a cat to traverse an entire room without ever touching the floor.
11. Themed Shapes (Clouds, Leaves, Etc.)
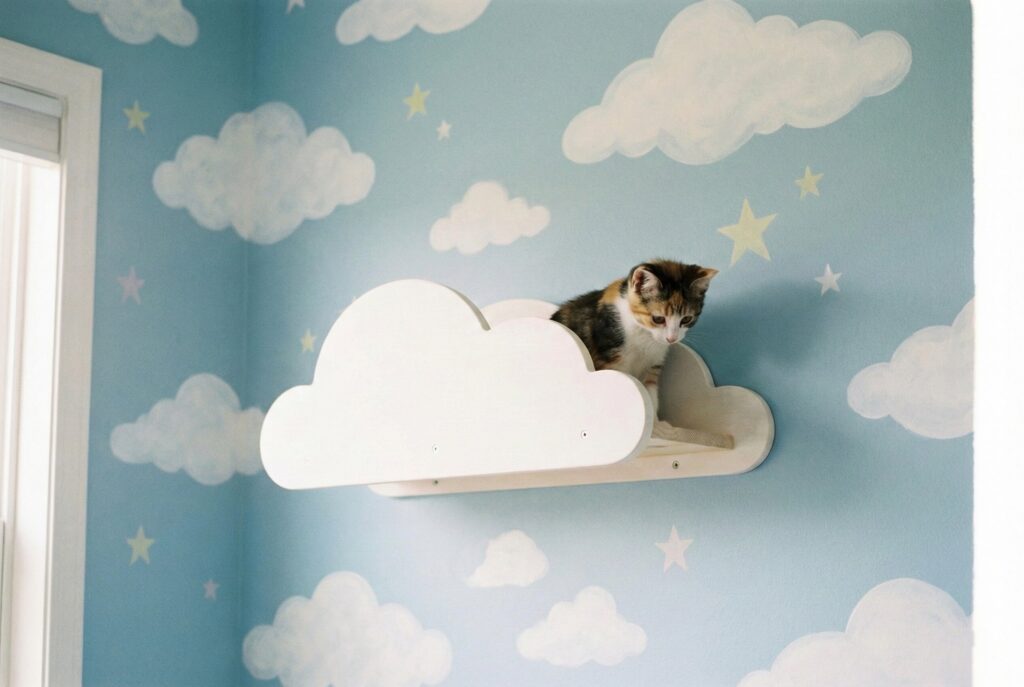
If you want the shelves to match a specific room decor, like a nursery or a whimsical living area, look for shaped shelves.
- Ideas: Shelves shaped like clouds, large leaves, fish, or even crescent moons.
- Note: Sometimes irregular shapes have less usable surface area for the cat, so ensure they are large enough to be functional, not just cute.
Installation: A General Step-by-Step Guide
While every shelf differs, the basic principles of safe installation remain the same.
Tools You Will Likely Need:
- Stud finder
- Power drill and drill bits
- Level (very important for aesthetics and safety)
- Tape measure and pencil
- Screwdriver
- Appropriate screws and wall anchors (if not hitting studs)
Step 1: Plan Your Route
Use painter’s tape to mock up the shelf locations on the wall. This helps you visualize the final look and ensures the distances between shelves are appropriate for your cat’s jumping ability. A good rule of thumb is spacing shelves roughly 12 to 18 inches apart vertically and horizontally.
Step 2: Locate Studs
Run your stud finder across the wall area. Mark the center of the studs with a pencil. Whenever possible, plan your layout so that at least one bracket of every shelf hits a stud.
Step 3: Mark and Drill Pilot Holes
Hold the shelf bracket against the wall at your desired location. Use your level to ensure it is perfectly horizontal. Mark the screw holes with your pencil. Drill small pilot holes where you marked.
Step 4: Install Anchors (If Needed)
If you are not drilling into a stud, now is the time to install your heavy-duty drywall anchors into the pilot holes. Tap them in gently with a hammer until flush with the wall.
Step 5: Mount the Brackets and Shelves
Line up the bracket holes with your pilot holes (or anchors). Drive the screws in tightly. Once the brackets are secure, attach the shelf plank to the brackets according to the manufacturer’s instructions.
Step 6: The Stability Test (Crucial!)
Before letting your cat near it, test the shelf. Press down hard on it with your hands. Wiggle it. Place some heavy books on it. If it creaks, moves, or pulls away from the wall at all, it is not safe. You must reinforce it.
Introducing Your Cat to the Shelves
Don’t be disappointed if your cat doesn’t immediately leap onto the new wall structure. Cats are cautious of changes in their environment.
- Use Bribery: Place high-value treats, catnip, or their favorite toy on the lowest shelves first.
- Positive Reinforcement: Praise them when they investigate the shelves.
- Physical Help: If your cat trusts you to pick them up, gently place them on a shelf and pet them so they realize it is a safe zone.
- Patience: Let them explore at their own pace. It might take days or weeks for them to fully embrace the new territory.
Conclusion
Installing floating cat shelves is one of the best upgrades you can make for your indoor cat’s quality of life. It changes a static room into a dynamic playground and sanctuary. Whether you choose a simple DIY plank system or invest in an elaborate store-bought geometric setup, the result is the same: a happier, healthier, and more confident feline friend. Start planning your wall today and watch your cat’s world expand.